I finally used the free compost bucket from our city’s compost event. The premise is the same as the common vermicomposting square bins–it is an enclosed space with a lid and two levels. One level is where the vegetable scraps to be composted and bedding is placed. The second level is where water is dripped and collected for compost tea. If your local compost event have these buckets for free, it is the most inexpensive way to compost. If not, you can make your own bucket for less than the cost of manufactured vermicomposting systems.
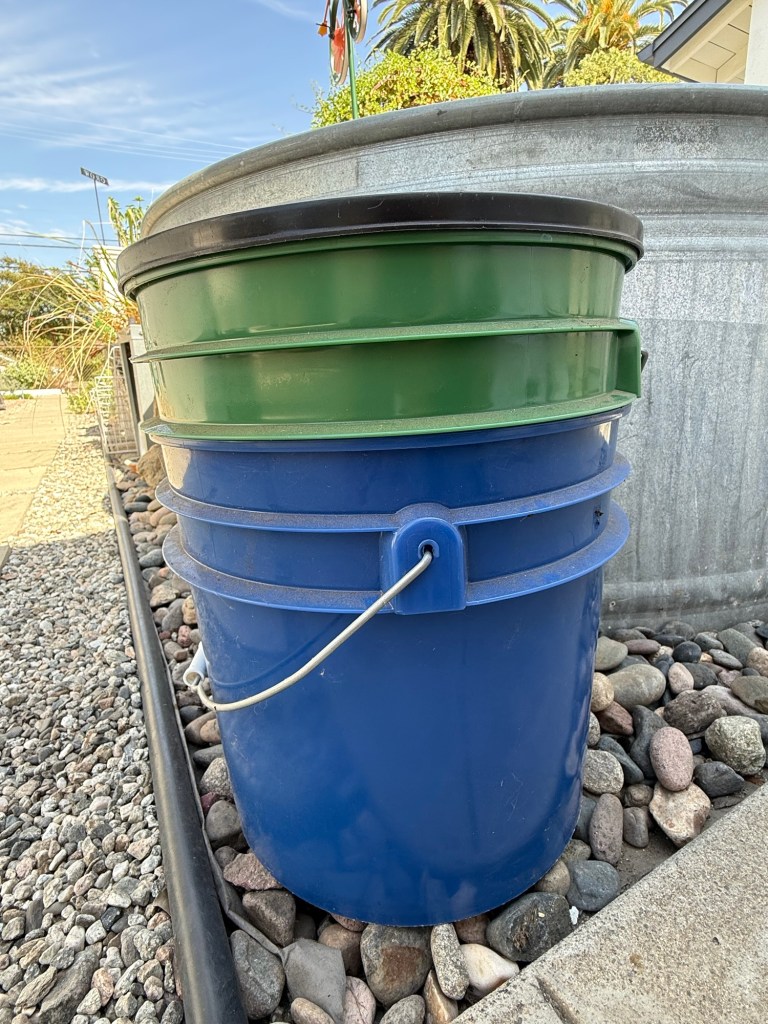
Any size bucket would work for this system, but I find the 2-gallon bucket to be more manageable. Keep in mind that you’ll have to lift up the first bucket when it is completed and it can be quite heavy at that point as the compost has grown after adding scraps and it will also be damp. The 2-gallon bucket can be found at your local hardware store and often times, you can find a BPA-free bucket for around $6. You’ll need two.
Composting is the act of turning your vegetable scraps and plant debris into an organic material that is rich in nutrients for your plants. It is an excellent fertilizer and this process is good for the environment as less waste enters the trash site. By making your own compost, you are creating a highly nutritious fertilizer for your plants without having to pay anyone for this rich material.
If you have a small amount of space, a compost bucket can be placed at the outside of your home or apartment. Even if you may not have a garden, you may have plants in containers or indoor plants. Compost and compost tea is excellent because you never have to worry if you have added the correct amount on your plants–it does not burn or harm plants.
We have been getting a lot of work done around our house and there were times when it was far too dangerous or disruptive to step foot outside to just dump my vegetable scraps. I used the compost bucket, which is positioned about 3 feet from my backdoor under shade. It was also a good opportunity to see how well it worked and especially during 100+F degree temperatures. The bucket exceeded my expectations.
Unlike a typical compost heap or the larger vermicomposting bins, the bucket does not require as much water. The plastic keeps the bin from drying out–just be sure you put in an adequate amount of “browns”–dead leaves and shredded cardboard and newspaper to keep the compost from becoming too anaerobic.
After you have decided on your buckets, you will need to drill some holes for ventilation.
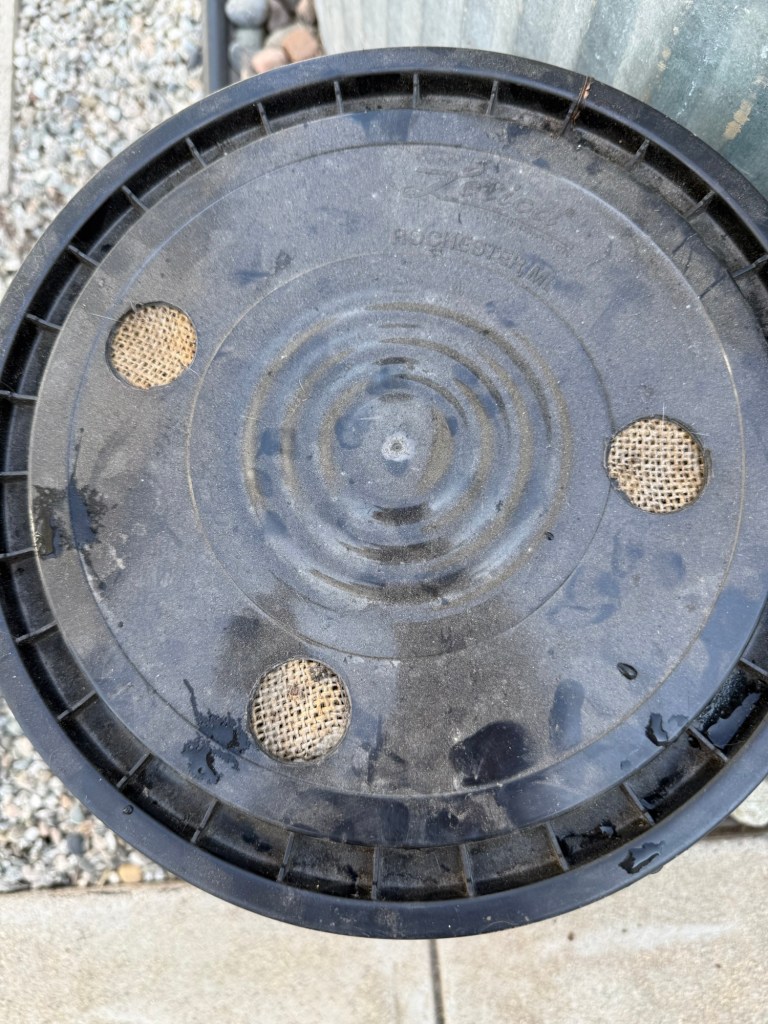
You’ll need a drill to make three large holes (for a larger bucket, I would add one more hole, for a smaller one, I would subtract) at the top of the lid for ventilation. Burlap is a terrific breathable material and the holes can be covered with the burlap so small animals and insects will not enter and your compost won’t dry out too quickly. Pieces of burlap can be cut and then using a glue gun, it can be adhered to the bottom of the lid.
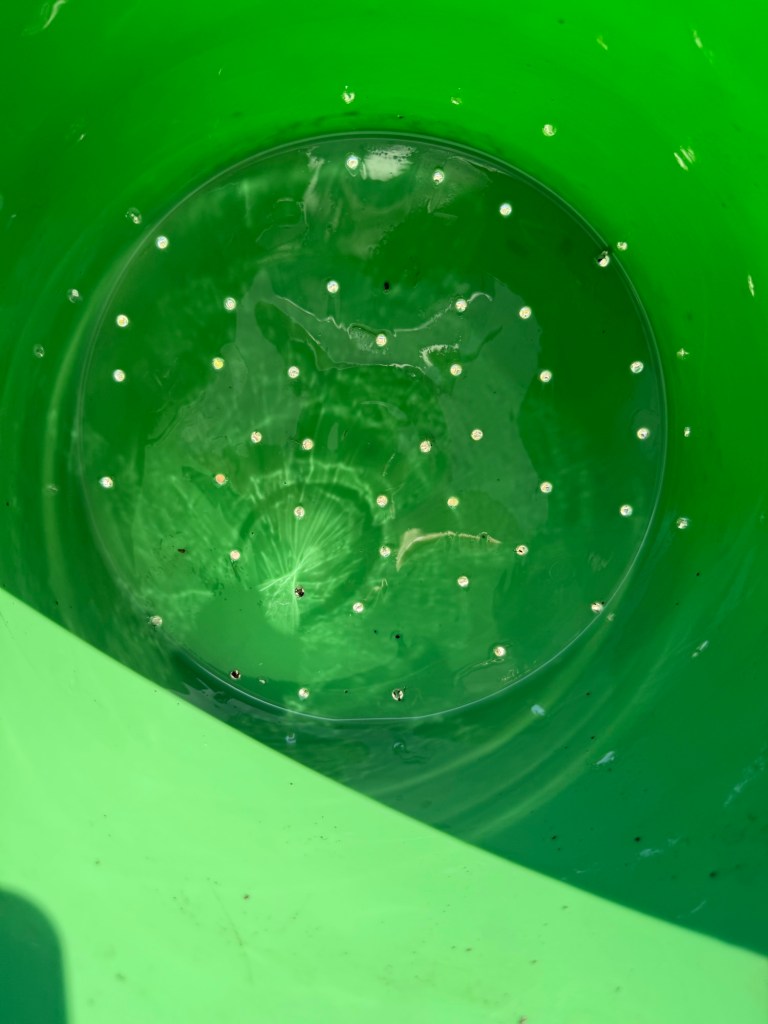
On one of the buckets, drill several small holes at the bottom of the bucket about one inch apart. This is so the liquid can be drained from the bucket and your material will not become moldy and anaerobic.
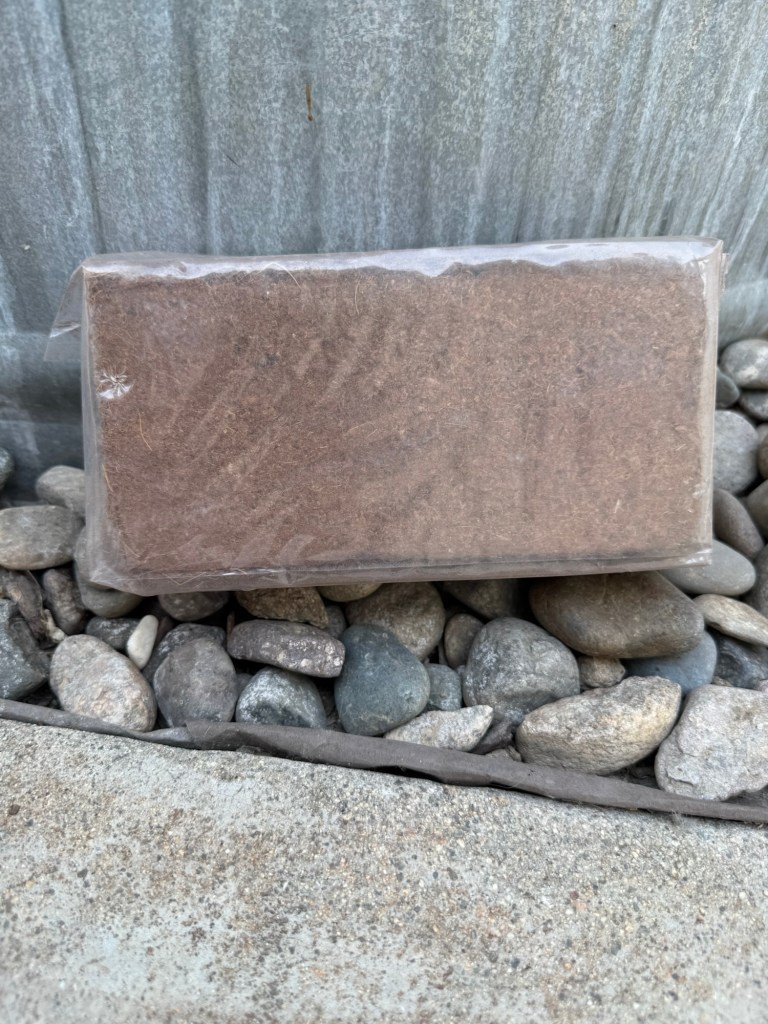
Coconut coir makes an excellent bedding material. On a standard brick size, you will need about half a brick. Soak the brick in water to expand. If you have excess coir, you can save it to use for later in about 3 months to renew your compost bucket or make your own potting soil.
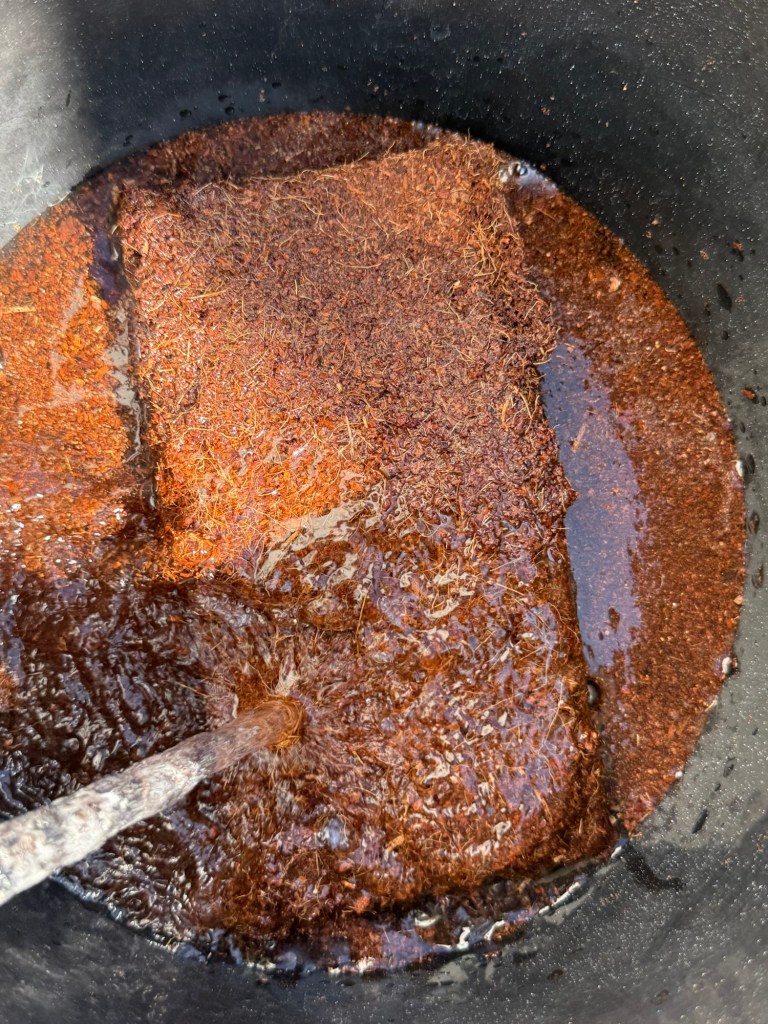
When you use your coir, you will squeeze out the excess water and place it in the bucket with the holes. There is no incorrect way to add your coir but you’ll want to have at least 2-3 inches of bedding material for your red-wiggly worms. You can then place your worms, vegetable scraps, and “browns.” I like to include shredded newspaper into my compost because the worms seem to really enjoy it! In one instance, I included a handful of newspaper and within two days, it had all been processed by the worms.
Be sure to immediately feed your worms with vegetable scraps and browns. Worms have large appetites so be sure to continuously feed your worms and add water, if needed. I always give the entire compost bedding a big stir (with my hands) during feedings. It helps distribute the food and provides more aeration. The moisture level of the compost should be moist but not excessively wet. Use a piece of burlap to cover the top of your compost. This burlap will serve as a barrier to keep your compost from excessively drying out. Then cover with the lid and place your bucket out of direct sunlight.
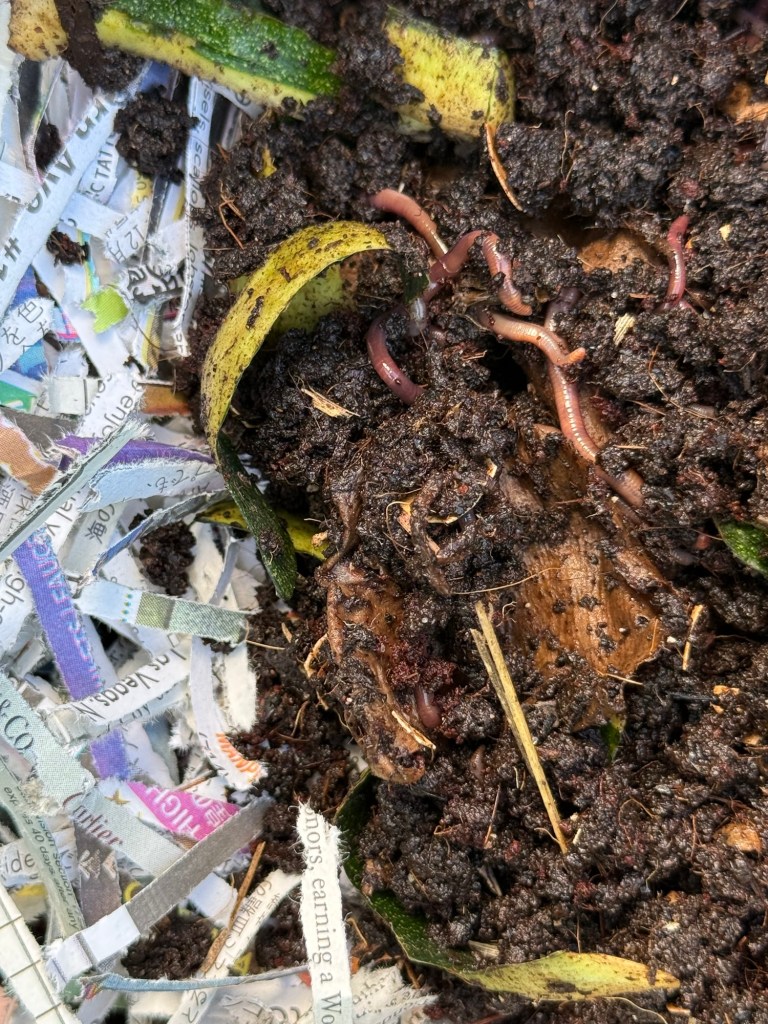
After a few months when the bedding material is completely dark brown, it is time to use the compost and spread it in your garden or containers. Be sure to keep some worms and a handful of the compost material to add into your new batch. The worms may have laid eggs in the compost so adding it to the new bedding will give your compost an instant start of worms to help compose your future scraps. Repeat the process and enjoy the results!
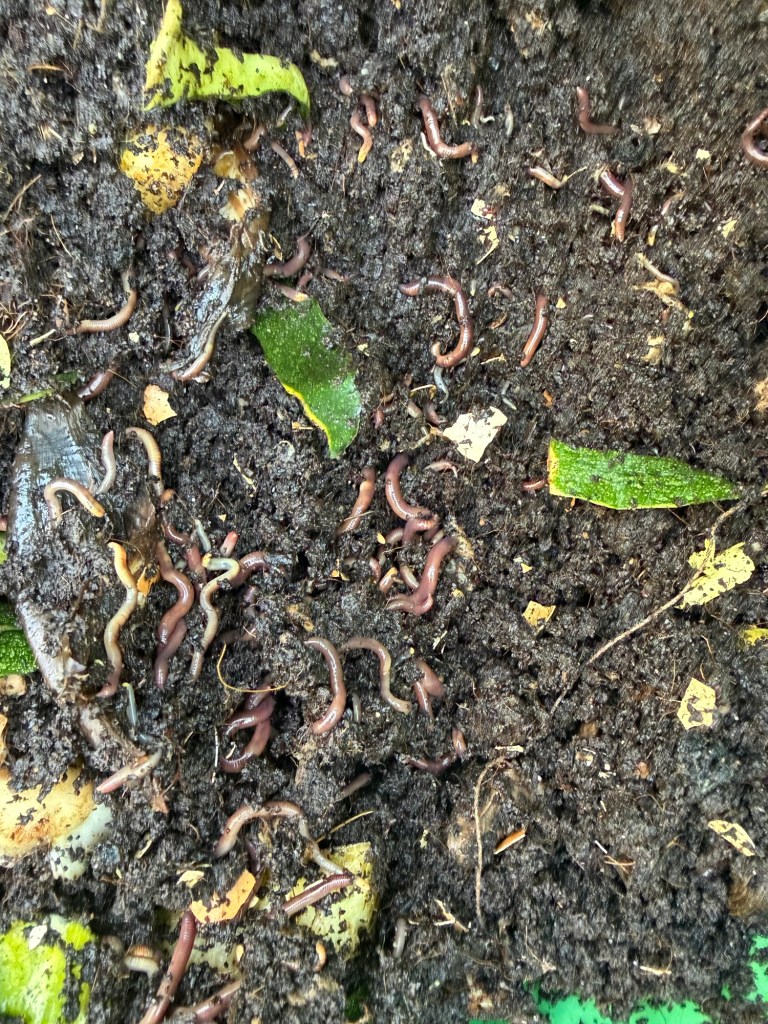
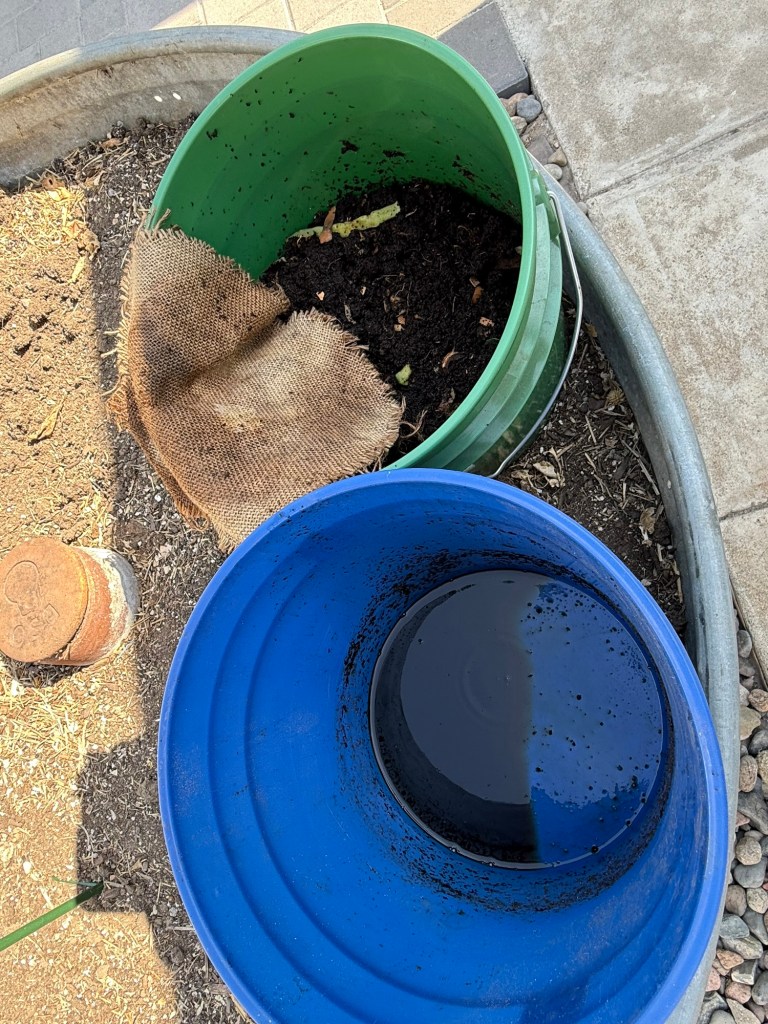
After about 2-3 months, the compost doubled in size from the original coir as I added more compostables for the worms to process. Periodically check the outer, bottom bucket, to collect and use your compost tea. The compost tea is dense fertilizer. Water can be added to dilute it and use around your garden and plants.
I enjoy vermicomposting as I find the worms to be such an incredible workhorse! They never cease to amaze me and having fertilizer in two forms, solid and liquid, is some of the best and safest substance you can use in your garden. It’s great for the environment and saves you a lot of money.
 635 Gardening